

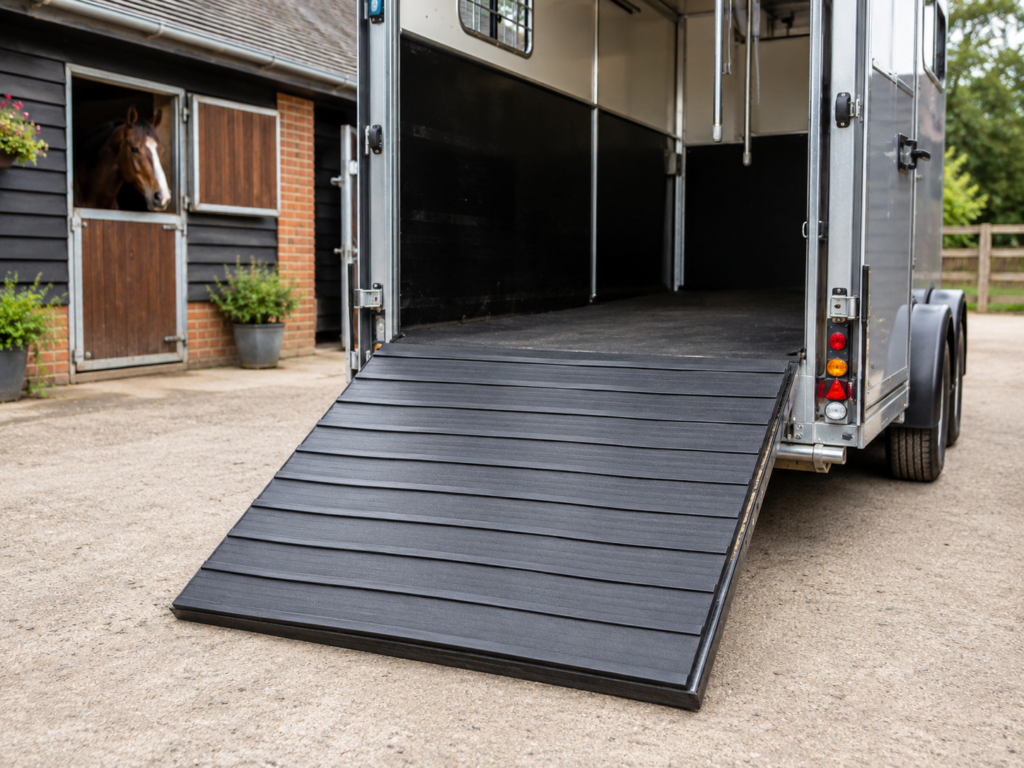
A horsebox floor takes urine, droppings, sweat, hay and road grit, sometimes all on the same short trip home from a lesson. If horsebox rubber mats are left wet and dirty between journeys, they smell, they become slippery and they hide what is happening to the deck underneath. A short, repeatable clean-down is one of the most useful habits you can build after you unload.
This guide is about hygiene and inspection between trips. It is not a full structural survey of the vehicle, and it does not replace checking the ramp mechanism, partitions or floor bearers when those need attention.
Why "I'll do it at the weekend" is a problem
Urine left under a mat does not stay politely in one place. It creeps into joins, soaks bedding remnants and can find any gap in the covering. The next time the horse travels, it steps onto a damp, sharp-smelling floor. Some horses start to rush or refuse simply because the box smells wrong or feels slick.
Wet organic matter against timber or in unseen corners is also how drivers miss early signs of rot or corrosion. Lifting the mats while you are already in boots with a hose in your hand is much easier than discovering a soft patch later.
Make the clean-down part of arriving home, even if you only do a thorough lift once or twice a week and a quicker scrape after every trip.
A practical clean-down sequence
Work safely: vehicle on level ground, ramp supported as the manufacturer intends, partitions secured so they cannot swing.
- Take out haynets, loose bedding and any remaining droppings.
- Sweep or scrape the surface of the mats so you are not grinding grit into them with water.
- Hose or scrub the top with a cleaner suitable for equine transport, following the label. Avoid a cocktail of leftover household chemicals.
- Lift or fold back the mats, starting at an edge you can grip. Have help with full-size pieces; they are heavy, especially when wet.
- Clean the deck beneath. This is the step people skip and the one that matters most.
- Look while you are there: staining, soft timber, rust, lifted edges, polished travel lanes and any fastener standing proud.
- Stand the mats on edge or on battens so both sides dry.
Do not trap a soaked mat back down onto a wet floor and close the ramp.
If you cannot get the mats fully dry before the next day, leave extra ventilation and delay putting clean bedding in until the surface has at least stopped dripping.
The same discipline applies to horsebox ramps. The ramp collects the first muddy footsteps and the last ones off, and a polished or soiled covering there undermines a perfectly clean interior.
What to use, and what to avoid
Warm water and a suitable detergent do most of the work. A stiff brush helps in textured patterns. Rinse well; leftover cleaner is unpleasant for the horse and can leave the rubber feeling slick.
Be cautious with neat bleach and solvent-based products unless the mat manufacturer says they are suitable. They can dry some rubber compounds and are unpleasant in a closed vehicle. Do not mix cleaners.
If you disinfect after a known infection risk, use a product recommended for equine use and give it the contact time on the label, then rinse and dry. Disinfectant is not a substitute for removing dirt first.
Other horsebox rubber mats will have their own care notes; check those if your mats came from a particular range, because surface patterns hold dirt differently.
Drying, bedding and smell
Smell is usually trapped moisture plus organic matter. Drying solves more of it than fragrance. Park with the ramp down if the yard is secure and the weather allows, or use the roof vents and leave partitions arranged so air can move.
Bedding choices affect how much moisture reaches the mats. A light layer that you remove after each trip is easier to manage than a deep, permanently damp bed that hides the floor. Mats are not a reason to travel without any bedding if your horse needs it; they are a reason not to leave that bedding rotting in place.
If the box still smells after a proper wash and dry, lift the mats again and check corners, wheel-arch trims and the area under the chest bar. The problem is often a forgotten pocket, not the rubber itself.
While the ramp is down, wash horsebox ramps and look at the lip and hinge line. Grit packed there wears both the covering and the mechanism.
A quick inspection while you clean
Use the clean-down as a mini check:
- Are mat edges still tight, or has a corner started to curl?
- Is there a polished, shiny lane where hooves always land?
- Do any joins gape when the vehicle is on uneven ground?
- Is water pooling in a hollow that did not used to be there?
- Does any part of the deck feel different underfoot once the mats are up?
A hygiene routine will not repair a failing floor, but it is how you notice the change early. If something looks structural, get it inspected rather than laying a nicer mat over it.
Yard floors at home matter too. A horse that steps from dirty, wet stable mats straight into the box will undo some of your work. Scrape hooves and pick out as usual before loading.
After a show or hunt when you are tired, it is tempting to leave the ramp until morning. At least scrape out and prop the mats up to dry, then finish the job properly the next day. Other ranges of horsebox ramps covering should be treated with the same "do not store wet" rule if you later renew that surface.
Common mistakes
- Hosing the top of the mats and never lifting them
- Closing up a dripping interior overnight
- Using leftover strong chemicals "to be on the safe side"
- Ignoring the ramp because the interior looks tidy
- Putting down fresh bedding to hide a smell instead of finding the wet patch
Clean horsebox mats the way you would want a horse to travel: scrape first, wash, lift, dry, and look at the floor beneath. A short routine after each journey keeps the vehicle more pleasant to use and gives you an early warning if the deck itself needs attention.