

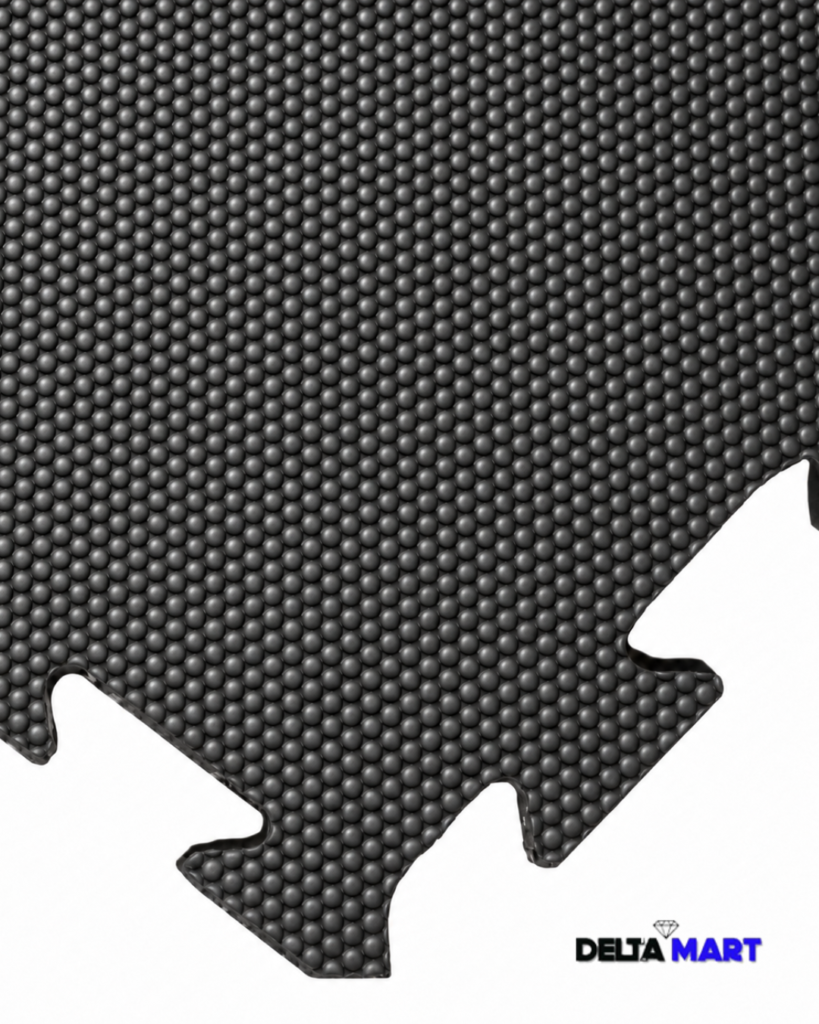
A spare bedroom can become a useful training space without a full renovation, provided the floor is protected and the room still works as a room. For this kind of room, interlocking gym mats are popular because they click into a custom rectangle, lift if you move house, and can be replaced one tile at a time. The fitting is simple, but it rewards a paper plan: most mistakes happen at the edges, around radiators and on rooms that are not actually square.
This guide is for household spare rooms, box rooms and similar indoor spaces. It is not a commercial gym install.
Decide what the room must still do
Be clear whether the spare room is a dedicated gym or a hybrid with a sofa-bed and a wardrobe. That decision controls how much of the floor you cover.
A dedicated room can take wall-to-wall tiles, with cuts along the skirting. A hybrid room is usually better as an island: a clean rectangle under the weights and mat work, with carpet or boards left visible around the bed or storage.
Wall-to-wall looks tidier and stops grit creeping under the edge. An island is easier to vacuum around and easier to take up if guests arrive. Live with tape on the floor for a few days before you cut anything.
If you also want some loose pieces for travel or garden use, keep those separate from the fitted field so you are not constantly breaking the interlocking run.
Measure twice, including the awkward bits
Measure length and width in more than one place. Spare rooms in older houses often taper. Note:
- Door swing and how far it clears the floor covering
- Radiators and pipes
- Fitted wardrobes and the runners of any sliding doors
- Chimney breasts and alcoves
- Socket positions you still need to reach
Draw the room on paper at a simple scale and mark the tile size you intend to buy. Standard tile sizes vary, so use the actual product dimensions, not a guess. Work out where full tiles land and where cuts will fall. It is better to have two honest cuts than one skinny sliver that will not stay locked.
Compare formats against other rubber gym mats if a single large mat under a bench would be simpler than tiling a small alcove.
Preparing carpet, boards and vinyl
On carpet, interlocking tiles can work as a floating layer, but deep, soft pile makes the floor feel vague and can stop the joints closing tightly. A firmer, low pile is easier. If the carpet is luxurious and you care about it, consider whether an island you can lift is kinder than a permanent cover.
On timber or laminate, sweep and vacuum thoroughly. Grit trapped under tiles will scratch the finish. Check for bounce or squeaks; rubber spreads load a little but will not stiffen a lively floor. If you train above neighbours, keep expectations about noise modest.
On vinyl, make sure the surface is clean and dry so tiles do not creep. Avoid adhesive unless the product is meant to be glued; spare-room gyms almost always benefit from a loose-laid floor you can take up.
Let tiles acclimatise in the room for a day so they are not cold and curled from a van.
Laying the field
Start from a straight reference, often the longest clear wall or a chalk line down the centre of the room, depending on how you want the cuts to fall. Dry-lay a row before you click anything permanently in your mind.
Join tiles fully. A joint that is only half engaged is the one that opens later and catches a toe. Work in a pyramid or row by row, whichever keeps you from closing yourself into a corner.
Keep factory edges to the visible perimeter of an island. Hide cut edges against walls. When you cut, use a sharp blade, a straight edge and a sacrificial board underneath, and keep fingers clear. Several shallow passes are safer than one heroic cut.
Around a door, check clearance with the door opening and closing. A tile that is slightly too thick under a down-sweeping door will scuff or jam.
You can look at interlocking rubber mats from other ranges if you need a different tile size to reduce cutting in a particular room.
Edges, transitions and furniture
An island needs a clean edge. If the product has dedicated edge pieces, use them; they reduce trips where the gym meets carpet. Without them, keep the change of level obvious and avoid placing the edge on the natural walking line to the door if you can.
Do not stand a heavy wardrobe or a filled bookcase on tiles you may want to lift. Either leave furniture on the original floor or accept that those tiles are staying put.
Leave a little breathing space at walls rather than compressing tiles so hard they dome in the middle. Follow any guidance supplied with the tiles about expansion, especially in a room that gets afternoon sun.
Other gym mats can sit on top later as sacrificial pieces under a kettlebell area if you do not want to mark the main field.
Aftercare in a spare room
Vacuum the surface and the perimeter. Lift a corner now and then to check for grit or damp, especially on timber. Wipe sweat marks while they are fresh. Avoid oily polishes that make the floor slick.
If you also compared interlocking rubber mats or home gym mats while choosing a format, stick to one tile system in the fitted field so the joints match.
Common mistakes
- Starting against a wall in a room that is not square, then discovering a widening gap
- Leaving sliver-thin cuts at the doorway
- Clicking joints only halfway because it "looks OK from standing height"
- Covering a deep, soft carpet and wondering why the floor feels unstable
- Trapping tiles under furniture you move twice a year
Plan interlocking gym mats as a small flooring project, not as a bag of tiles to click randomly from one corner. Measure the awkward parts of the room, decide between an island and full cover, cut safely, and leave yourself a floor you can still vacuum, rearrange and, one day, take with you.